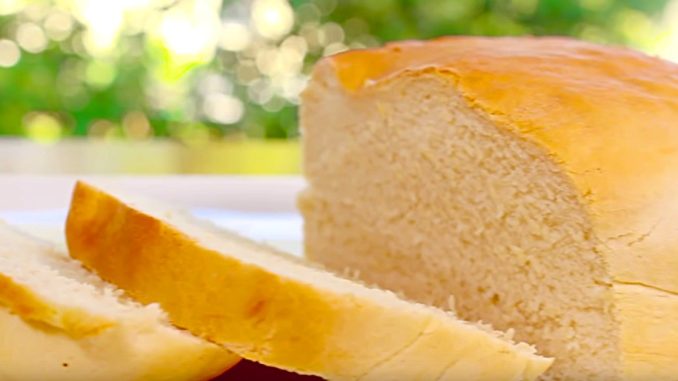
In this comprehensive guide, we delve into the art of crafting delectable and perfectly air-fried bread that will tantalize your taste buds and leave you craving for more. Our expert techniques and carefully curated tips will not only help you create a mouthwatering culinary masterpiece but also equip you with the knowledge to outshine the competition. Let’s embark on this culinary journey together and unlock the secrets of air fryer bread perfection.
The Rise of Air Fryer Bread
In recent years, the air fryer has revolutionized home cooking, providing a healthier alternative to traditional frying methods. Air fryer bread, in particular, has gained immense popularity due to its ability to produce crispy exteriors and soft, fluffy interiors, all while using significantly less oil. Whether you’re a seasoned baker or a culinary enthusiast, mastering the art of air fryer bread opens up a world of culinary possibilities.
Ingredients You’ll Need
To craft your air fryer bread masterpiece, you’ll require the following high-quality ingredients:
- Flour: Opt for all-purpose flour or bread flour for the perfect texture and rise.
- Yeast: Active dry yeast or instant yeast to leaven the dough and create that signature fluffiness.
- Water: Lukewarm water helps activate the yeast and ensures proper dough formation.
- Salt: A pinch of salt enhances the flavor and strengthens the dough structure.
- Sugar: Just a touch of sugar provides nourishment to the yeast and aids in fermentation.
- Oil: A neutral-flavored oil keeps the dough soft and prevents it from sticking.
Step-by-Step Guide
1. Prepare the Dough
In a mixing bowl, combine the lukewarm water, yeast, and a pinch of sugar. Allow the mixture to sit for about 5 minutes until it becomes frothy. This indicates that the yeast is activated and ready to work its magic.
2. Mixing and Kneading
Add the flour and salt to the yeast mixture. Begin mixing until a shaggy dough forms. Transfer the dough onto a floured surface and knead it for around 10 minutes until it turns smooth and elastic. This process develops gluten, giving your bread structure and strength.
3. First Rise
Place the dough in a lightly oiled bowl, covering it with a damp cloth or plastic wrap. Allow it to rise in a warm, draft-free area for about 1 to 1.5 hours, or until it doubles in size. This is the fermentation stage, where the yeast converts sugars into carbon dioxide, leading to the dough’s rise.
4. Shaping the Bread
Gently deflate the risen dough and shape it into the desired loaf or rolls. Place the shaped dough onto a parchment-lined tray or into a greased loaf pan.
5. Second Rise
Cover the shaped dough with a cloth and let it rise again for about 30 to 45 minutes. This stage is crucial for achieving the final airy texture of your bread.
6. Air Frying
Preheat your air fryer to the recommended temperature for bread baking. If your air fryer doesn’t have specific bread presets, aim for around 350°F (175°C). Place the shaped dough into the air fryer basket, ensuring proper spacing to allow for expansion.
7. Achieving Perfection
Air fry the dough for approximately 15 to 20 minutes, turning it halfway through the cooking time to ensure even browning. The exact time may vary based on your air fryer model, so keep a close eye on the bread to prevent overcooking.
Why Air Fryer Bread Reigns Supreme
Air fryer bread boasts a myriad of advantages that set it apart from conventional baking methods:
- Crispy Texture: The rapid circulation of hot air in the air fryer ensures a crispy, golden-brown crust.
- Time Efficiency: Air fryer bread typically requires less baking time compared to traditional oven baking.
- Healthier Option: With significantly less oil usage, air fryer bread is a healthier alternative.
- Uniform Heating: The even distribution of heat in the air fryer guarantees uniform baking and consistent results.
Unlock Culinary Excellence with Air Fryer Bread
In conclusion, air fryer bread presents an exciting opportunity to elevate your culinary prowess. By following our step-by-step guide, you’ll create bread that not only satisfies your cravings but also positions you as a culinary maestro. So, why wait? Dive into the world of air fryer bread and let your taste buds experience the symphony of flavors and textures that only this technique can deliver.
Remember, the journey to culinary excellence is an ongoing one, and by continually refining your skills, experimenting with flavors, and embracing innovation, you can undoubtedly establish yourself as a true master of the kitchen.
